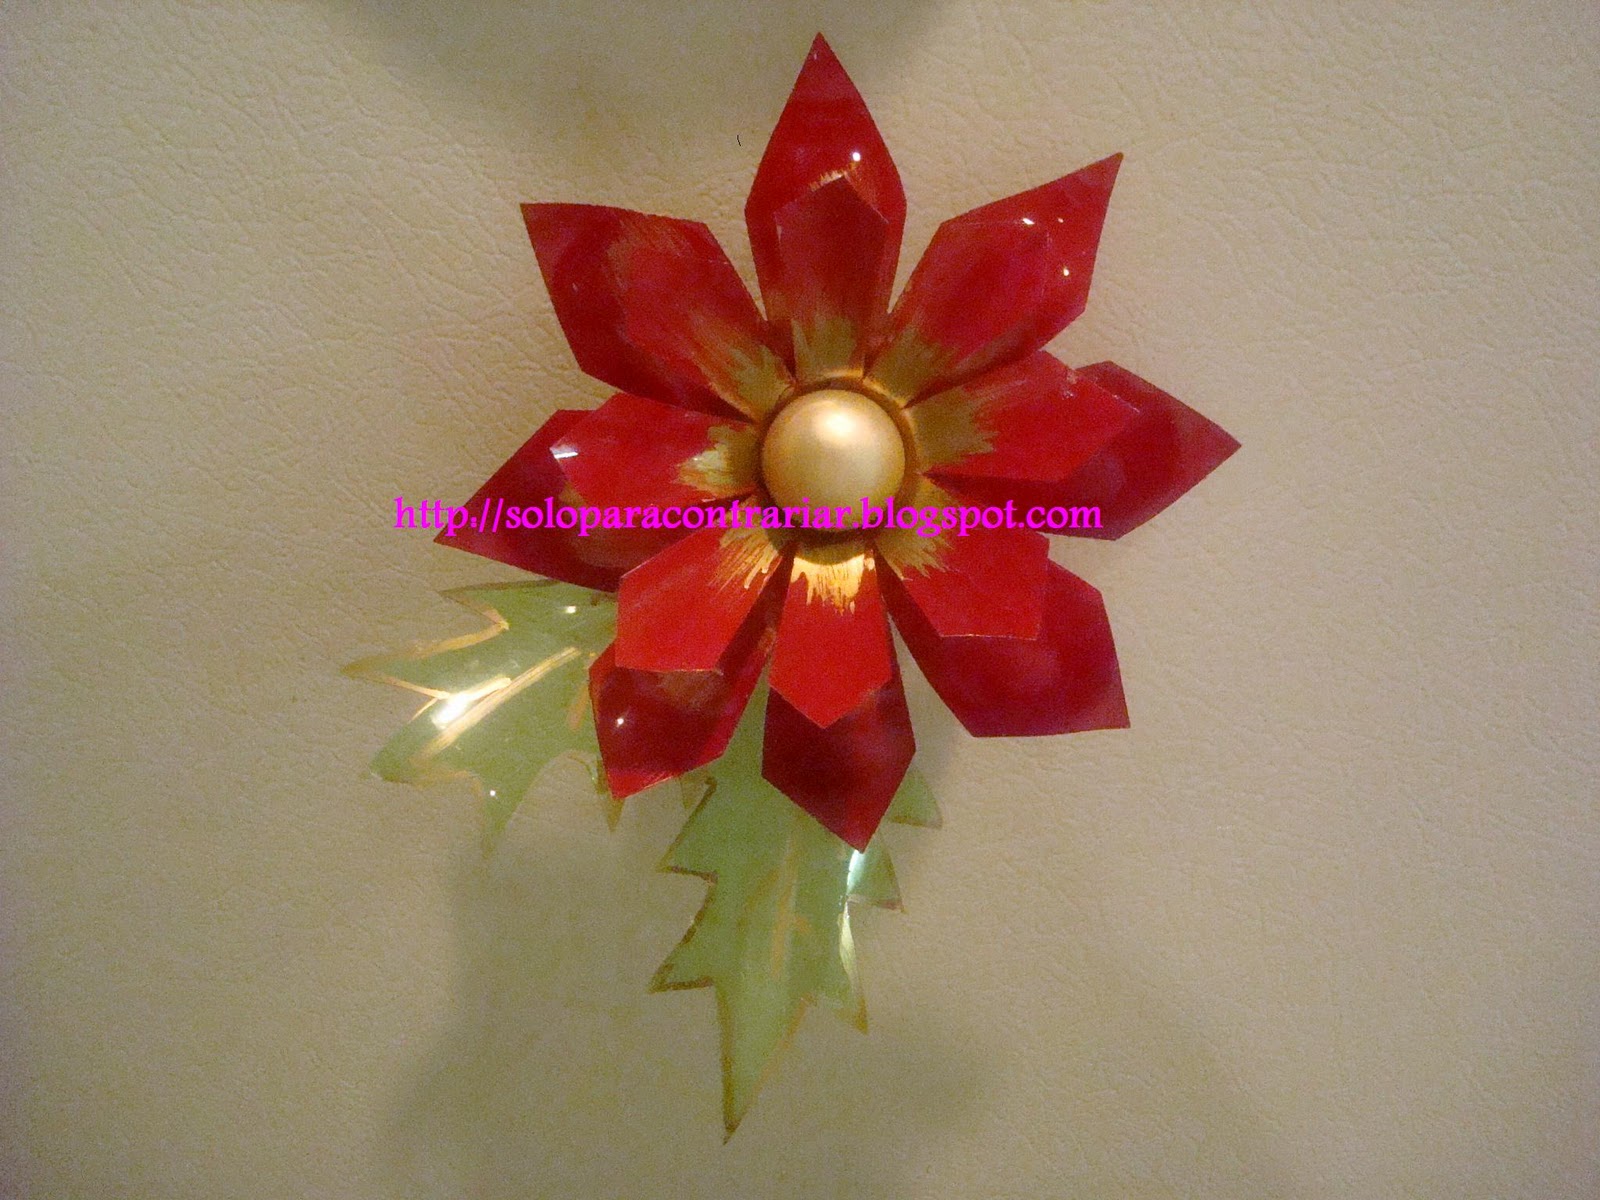
Flores Navideñas, para adornar casi todo,hechas con botellas plasticas


Por cada flor una botella con cuello ancho y otra con cuello angosto(foto)
Una botella plastica verde,para las hojas
Pintura acrilica roja,indoor-outdoor(si quieren pueden usar pintura de spray.
Pintura acrilica color oro
sealer
tijeras
goma caliente
Brochas grusas de hule espuma(foto)
Brocha regular
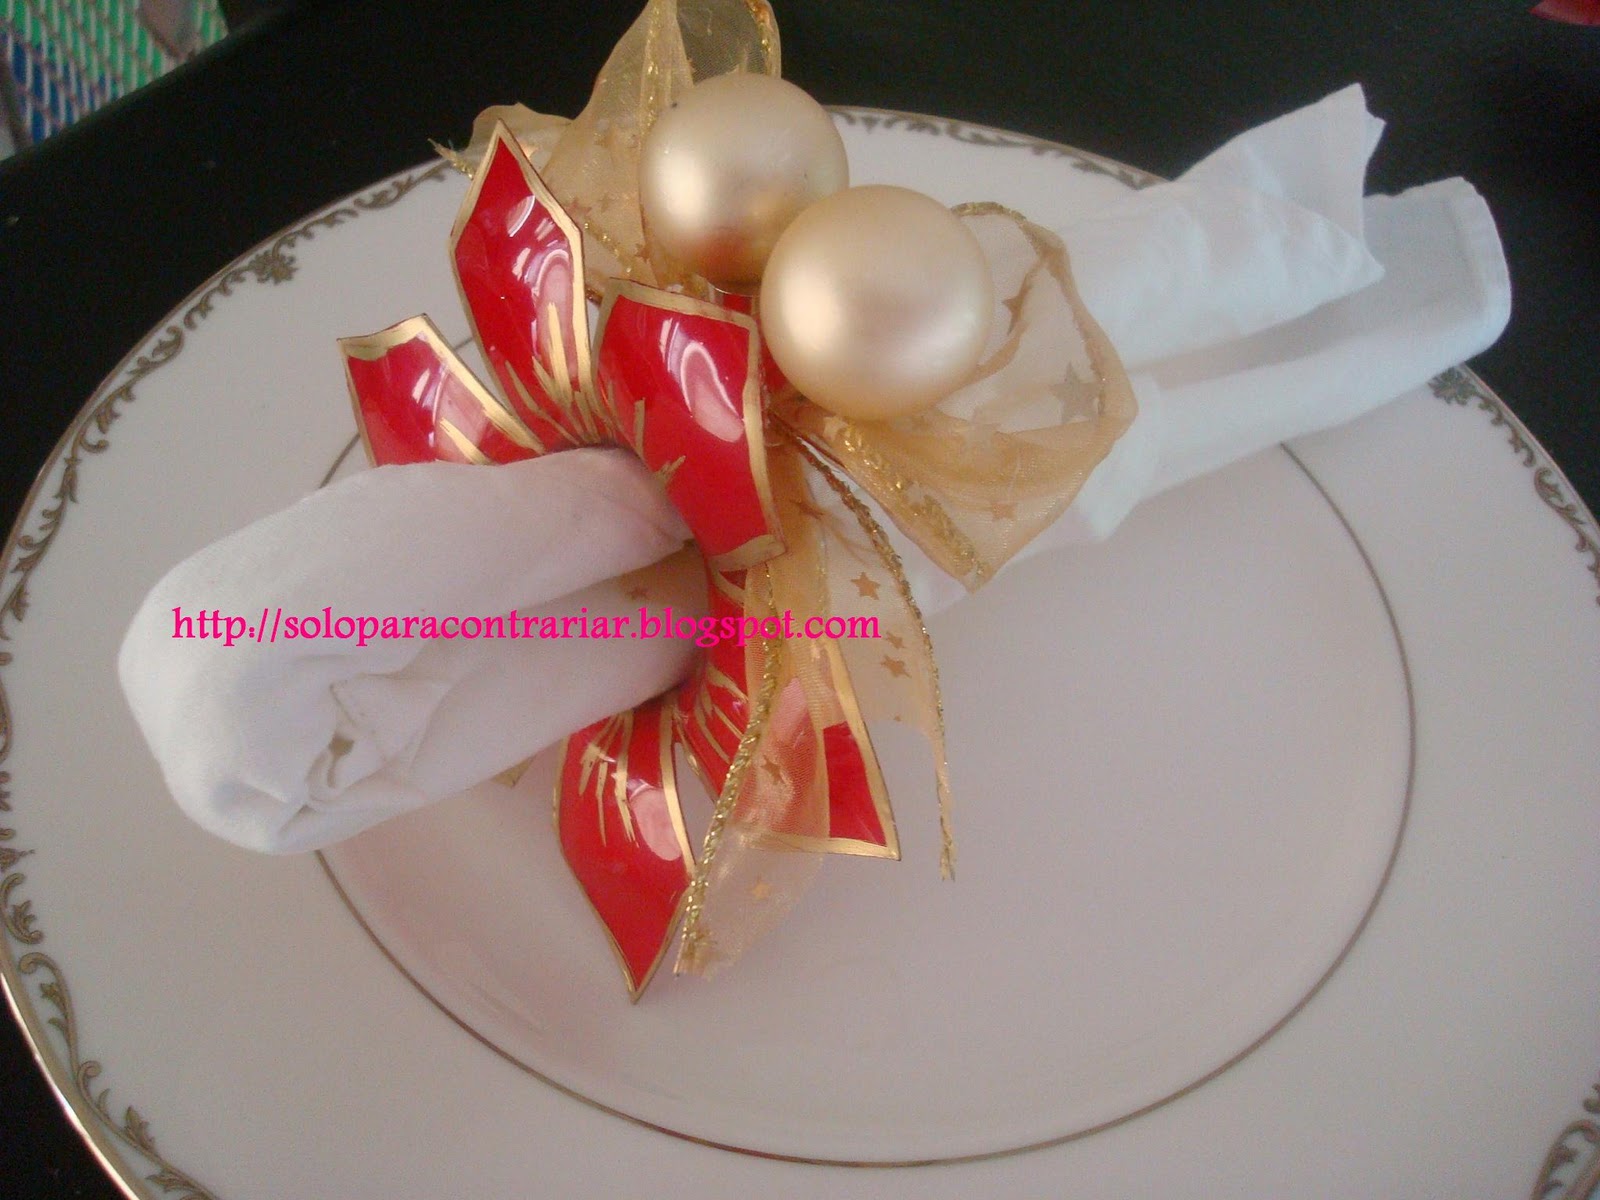
FloraltapeListon o cinta con motivos navidenos.
imanes
Unas esferitas doradas
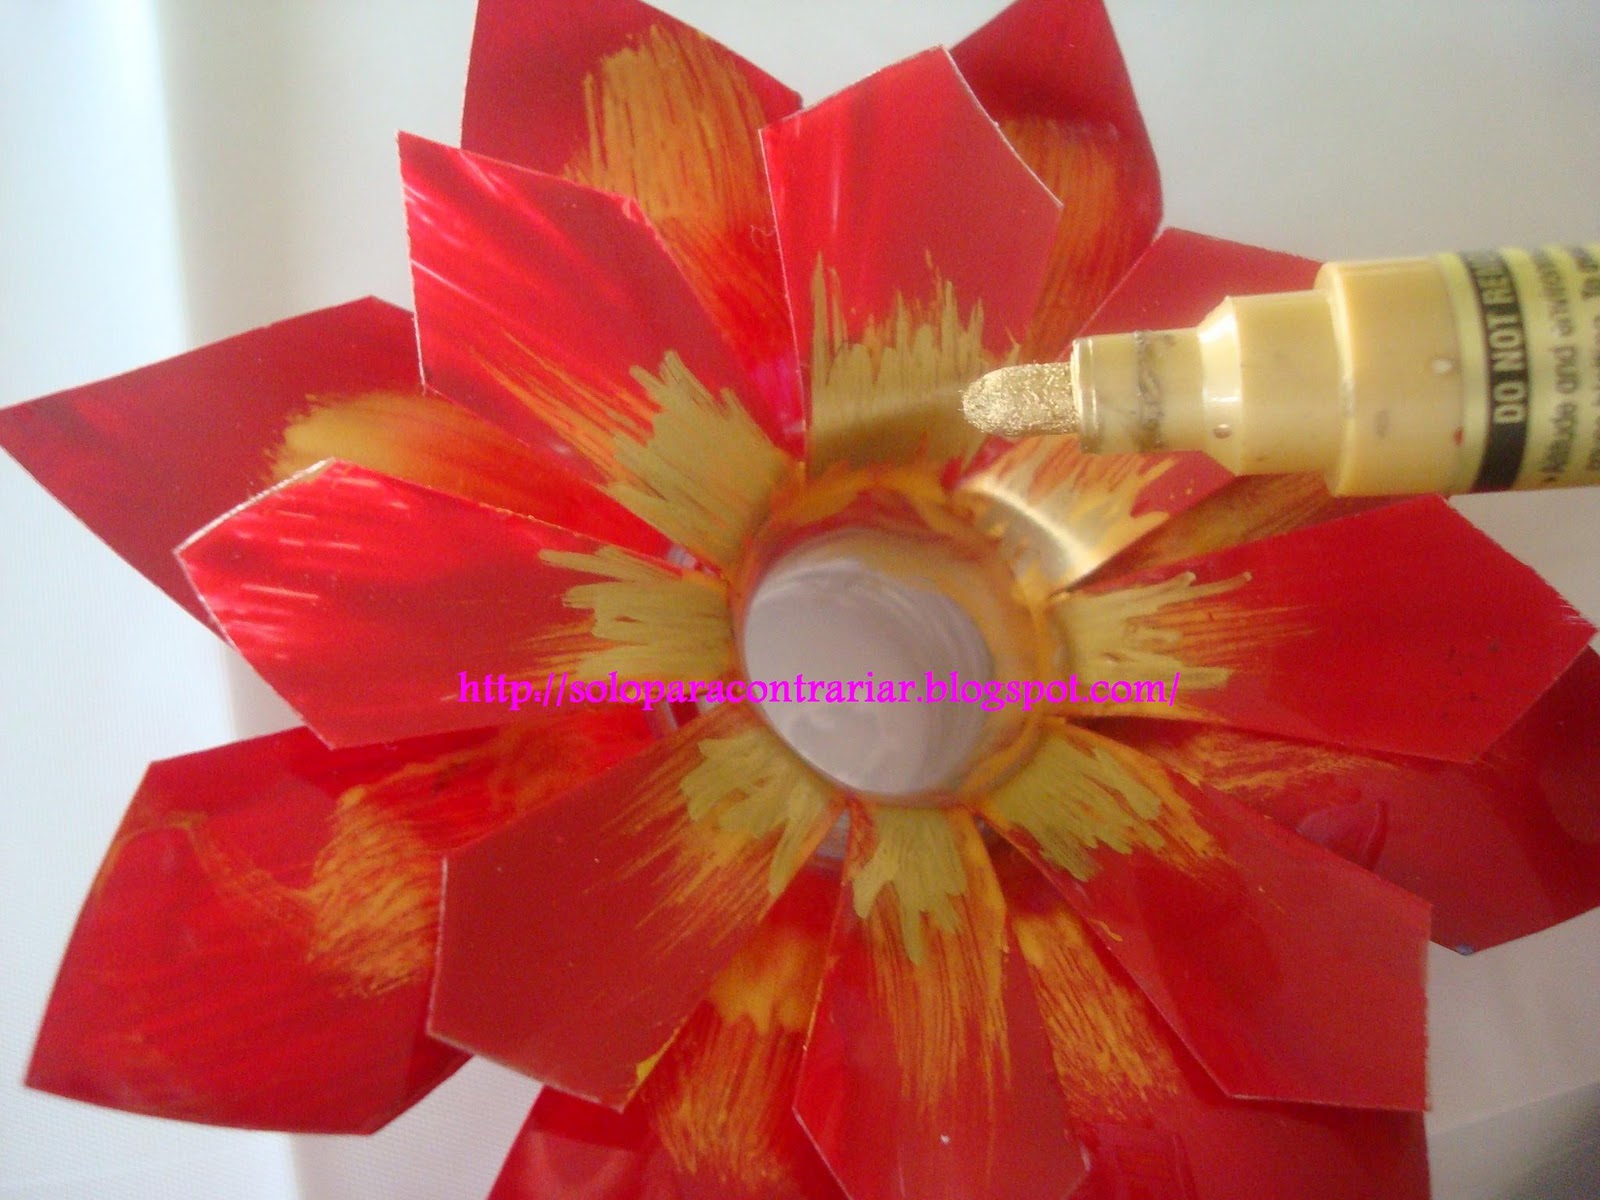
Un marcador en color dorado
COMO HACERLAS
Primero cortamos las parte superior de las botellas ,las cortamos c/u en 6 u 8 petalos,los que vamos ir dandole forma triangular


A la pintura le agregamos una gotita de jabon de trastes liquido,y

Les recomiendo tener una toallita humeda a la mano ,por si la pintura se va al frente dela "flor"la puedan limpiar ;)
Ya que esta seca,le damos una mano de Multiporpuse Sealer,dejando secar muy bien.

Ya que tenemos las dos partes de la flor,la empezamos a adornar:
Usando la brocha ,pintamos el centro de los petalos en ambas "flores"dejando secar muy bien.ahora si lo quieren mas brillante,le pueen poner diamantina dorada .

Una vez bien seca la pintura,procedemos a armar la flor,pegando la flor mas pequena en el centro de la mas grande,poniendo el pegamento alrededor de la boca de la botella mas chica,a la cual le vamos a remover la tapa (si la van a hacer con luces,primero hagan el agujero para el foquito , en la tapa de la "flor" mas grande" )
Yo aqui use crazy glue,para que dure mas ya que apegamos ambas partes,precionamos firmemente para que queden bien unidas.
(nuevamente,si van a hacer las luces,cuando peguen las flores, asegurense de dejar el agujero para el foquito en el centro)


========================================================================
IMAN PARA EL REFRIGERADOR:
(Claro que cada quien le puede dar su toque personal,y adornarlas al gusto)
Una vez bien pegadas ambas partes,,con el marcador dorados ,le damos una retocadita en la parte de en la parte de enmedio,luego con la goma caliente ponemos una esferita dorada,yo use estas que son irromplibles


en la parte de atras le pegamos el iman,on goma caliente y listo!!!
========================================================================
Luces

Para las luces,aqui les digo como hacer el agujero para poner los foquitos


======================================================================
Tb las pueden poner en cajas para regalos

===================================================================
=======================================================================
Las hojas verdes:
Pueden hacerlas con botellas claras y pintarlas con el color acrilico verde o las pueden hacer de foami o felpa.como se le haga mas facil
Trazar la hoja con marcador dorado,marcando las nervaduras con el mismo color
en la botella verde

Abrazos!!

